Introduction
The Nixie tube, a product from the last century witnessed the development of the electronic technology history. Its' unique display effects makes it an unforgettable design. The Nixie tube is extremely rare in the market.
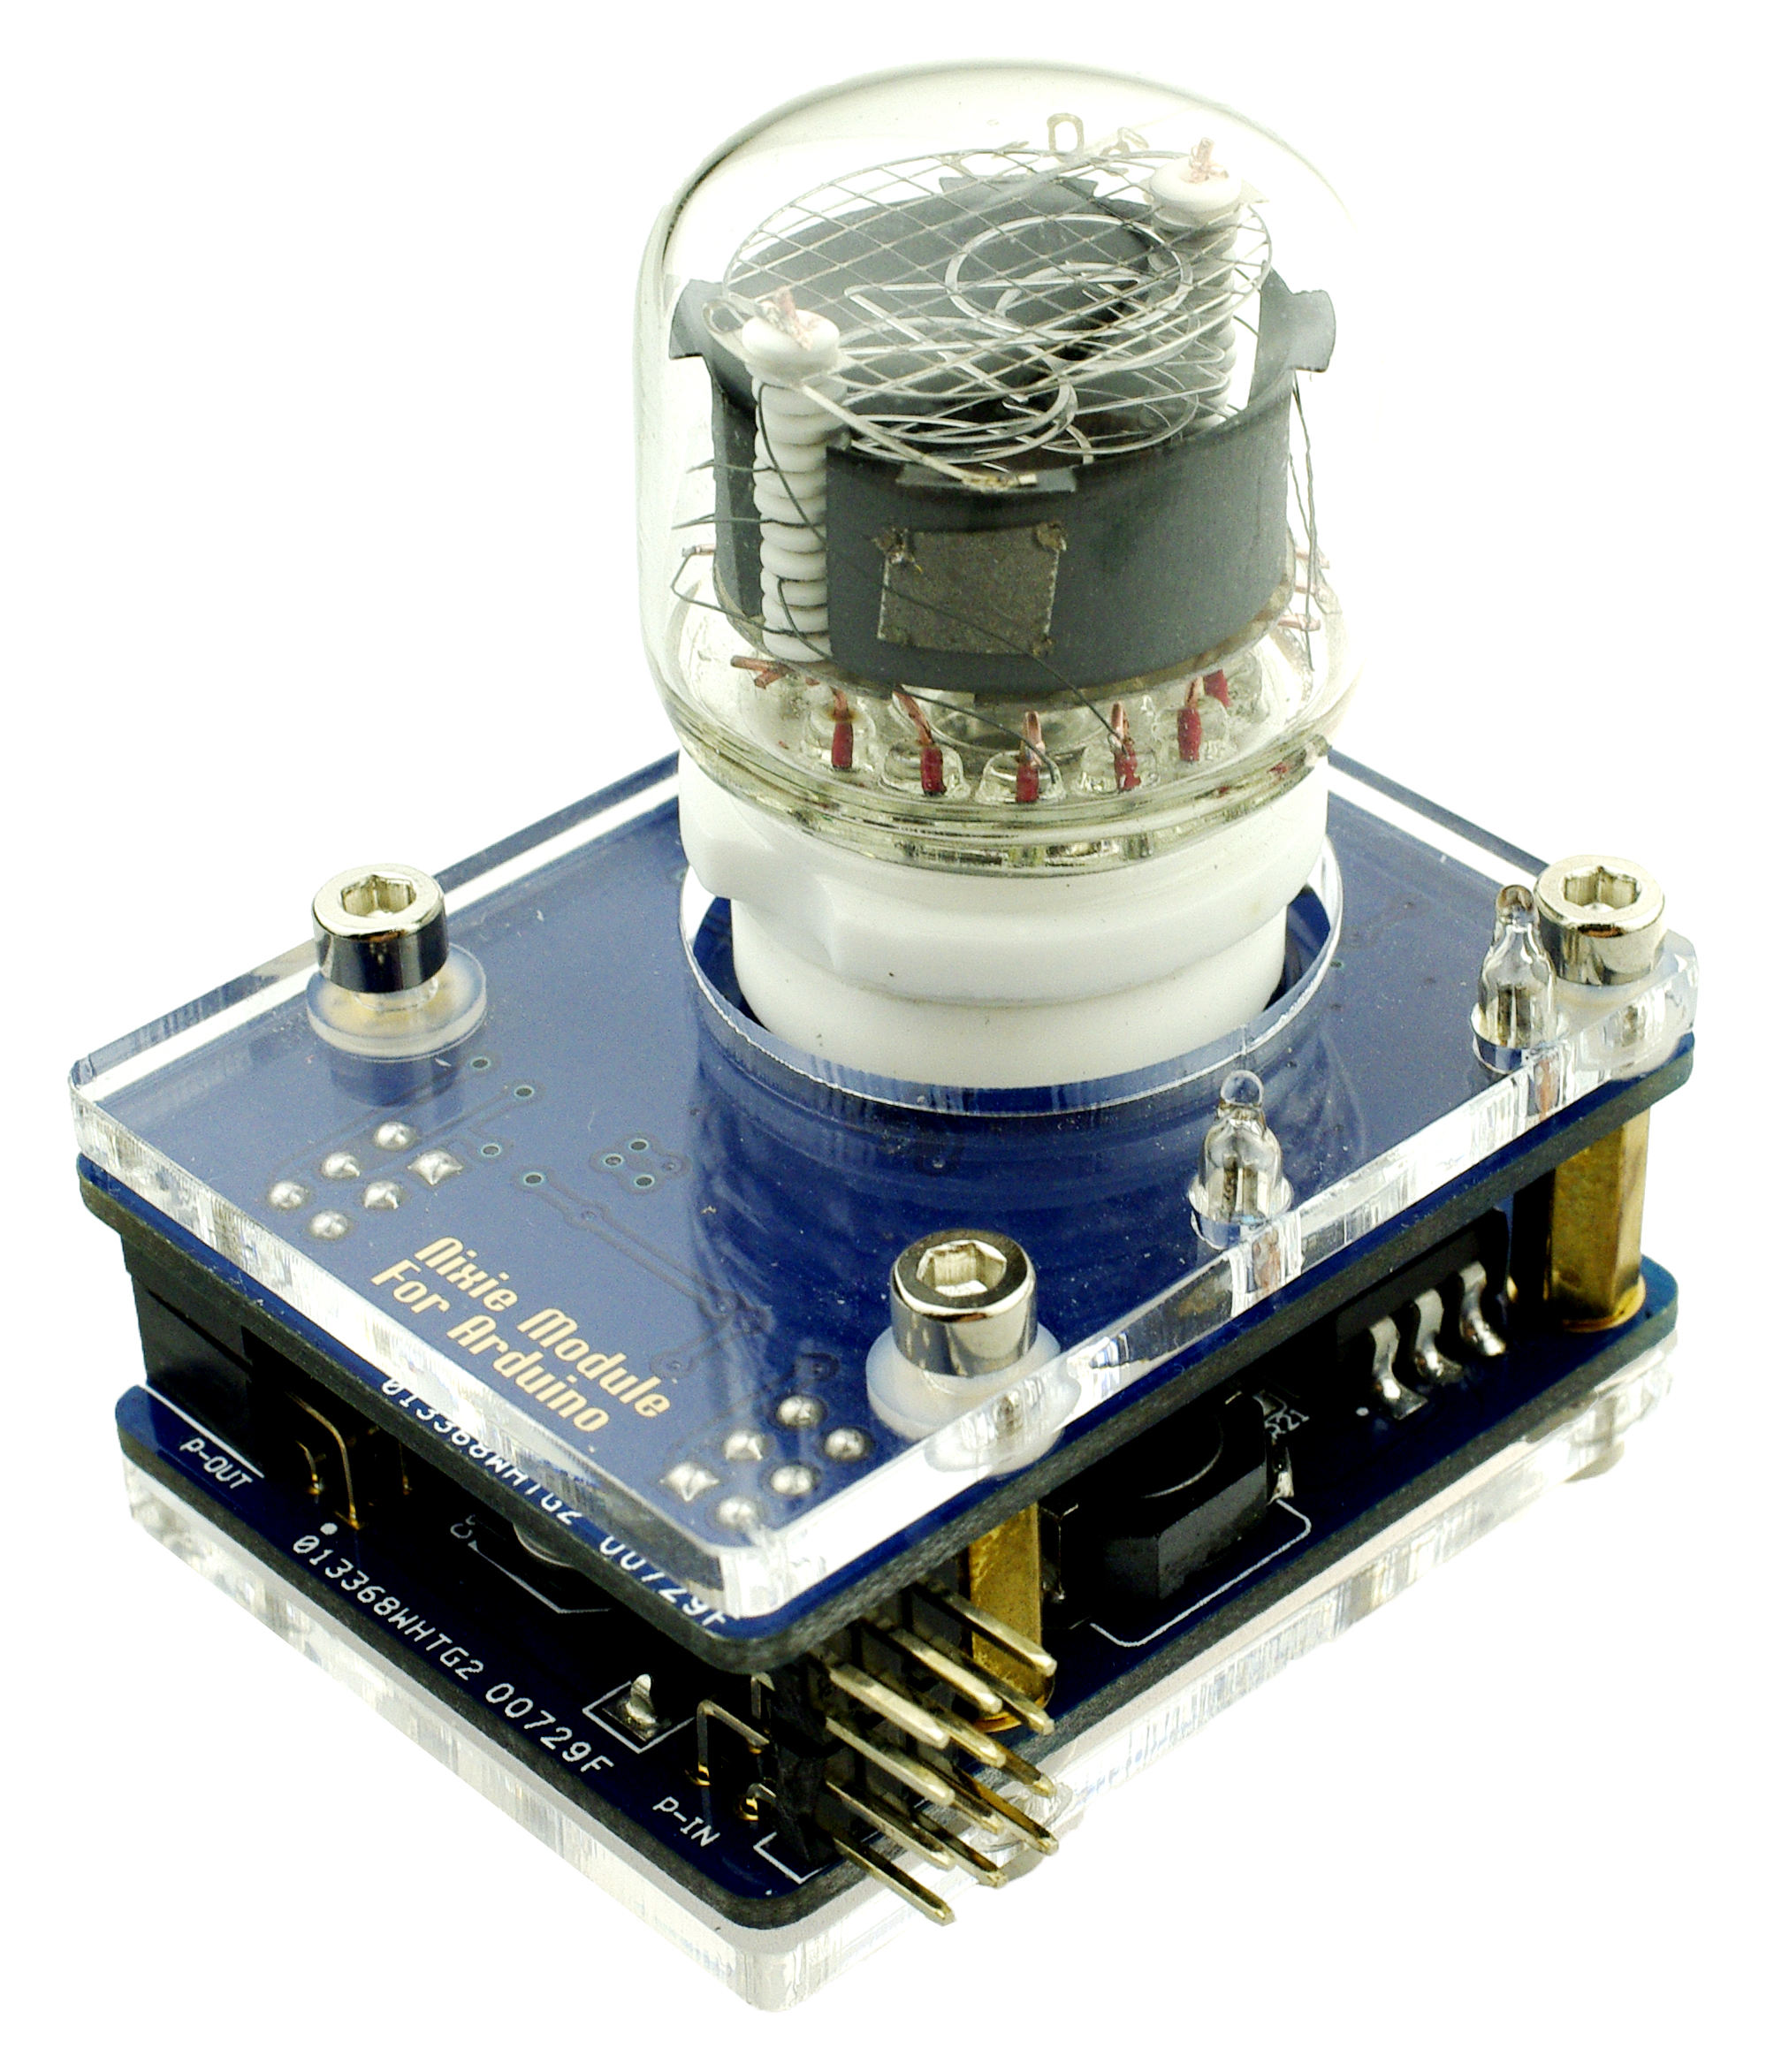
This Nixie module for Arduino makes it prossible to drive the Nixie tube directly. This classic nixie tube combines a ceramic tube base, gold-plated PCB, and an RGB background LED. This module can be used in a variety of applications. It is an all-in-one design. Boosted circuit, driver, and plug sockets are integrated. Several modules can be plugged in serial for customized needs. This makes controlling nixie modules much easier, especially for Arduino, and other similar platforms. Users can focus on the presentation and application, no need to worry about the voltage management or connections.
WARNINGS:The voltage on board is over 170Vdc when working. Do NOT touch inside the crylic board if you do not know what you are doing.
Specification
- System Power supply: 5v
- External Power supply: 12v
- Max working current from external power: 100mA@12v per module
- Embeded RGB backlight
- Gold-plated PCB
- Acrylic shell
- Driving chips: HC595 x2
- Controlling interface: 4 wire spi communication
- Size: 50x40x55mm
- Weight: 85g
Tutorial
Requirements
Hardware
- DFRduino UNO R3 (or similar) x 1
- Nixie Module -Limited (Arduino Compatible) x 1
Software
- Arduino IDE
- Download and install the NixieTube v1.2 Library (About how to install the library?)
Connection Diagram

Sample Code
Please install the Arduino library for Nixie Module.
// #
// # Editor     : Lauren from DFRobot
// # Date       : 21.08.2012
// # E-Mail : Lauren.pan@dfrobot.com

// # Product name: Nixie Module For Arduino
// # Product SKU : DFR0206
// # Version     : 1.1

// # Drive the Nixie module to change the number
// # Also control the backlight to show a colorful breathing effect
// # Add the sample command for controlling the colon LEDs(Colon:None/Upper/Lower/Both)
// #

#include "NixieTube.h"

NixieTube tube(11, 12, 13, 10, 1);  // NixieTube(DIN,ST,SH,OE,NUM)
    //  DIN(D11) - PIN1
    //  ST(D12)  - PIN2
    //  SH(D13)  - PIN3
    //  OE(D10)  - PIN4
    //  GND      - PIN5
    //  5v       - PIN6
    //  The pin number of the module is defined in the datasheet


void setup(){
  tube.setColon((Colon)None);            // Turn off the two colon LEDs
}

unsigned long backgroundCtrl_Timer = 0;  // the timer for managing backlight
unsigned long numCtrl_Timer = 0;         // the timer for managing number displayed

void loop(){

  static int dispVal = 0;
  static boolean dir = true;
  static byte brightness = 0;
  static int colorNum = 0;    // the number of color in array of the library

  if(millis() - backgroundCtrl_Timer > 5){ // Manage the backlight controlling flash rate

    if(dir)  tube.setBrightness(++brightness);    // Set the brightness of the background
    else tube.setBrightness(--brightness);

    if(brightness > 250)  dir = false;
    else if(brightness < 5)  dir = true,colorNum++;

    if(colorNum > 6)  colorNum = 0;
    tube.setBackgroundColor((Color)colorNum); //set the background color. Call the element from the color array
    backgroundCtrl_Timer = millis();
  }

  if(millis() - numCtrl_Timer > 500){ // Manage the number controlling flash rate
    tube.setNumber(++dispVal);        // set the number to display
    tube.display();                   // Show the number
    numCtrl_Timer = millis();
  }

}
FAQ
| Q&A | Some general Arduino Problems/FAQ/Tips |
|---|---|
| A | For any questions, advice or cool ideas to share, please visit the DFRobot Forum. |
More Documents
 Get Nixie Module -Limited (Arduino Compatible) from DFRobot Store or DFRobot Distributor.