Introduction
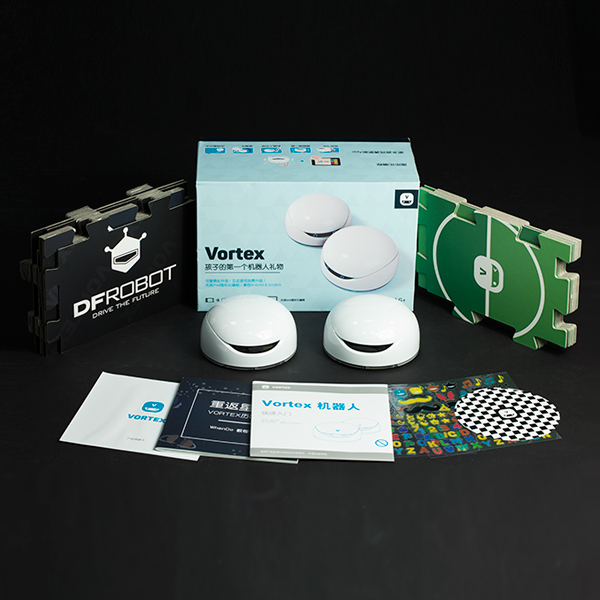
Vortex is a revolutionary product for children. It is a smart and responsive robot that kids can play with and program. Using the Vortex and apps, kids can play different games, learn about robotics, and even create their own.
In this Tutorial, we we'll introduce vortex hardware features and teach how to program your vortex robot via Arduino IDE.
Specification
- MCU: ATmega328p (Bootloader: Arduino UNO)
- Operating voltage: 5V
- Power: 3.5~6V (4xAA Battery/USB)
- Size: Diameter: 120mm; Height: 64mm
- Net weight: 260g
- Support Bluetooth 4.0
- Programming Method: WhenDo/Scratch/Ardunio
Overview

- Feature:
- Bluetooth Communication
- Motor Control
- Line tracking
- Autonomous obstacle avoidance
- RGB LED Color Control
- MP3 Music Player
- Encoder
- Robot Eye
Programming Method
Vortex is a programmable robot based on Arduino open-source hardware. There are 2 kinds of programming methods: USB or Bluetooth wireless programming.
What You Need
- Software: Arduino IDE Click here to Download Arduino IDE from Arduino®
- Hardware:
- USB programming requires a micro USB cable only.
- Bluetooth wireless programming requires a USB BLE Link
USB Programming

- Unscrew the screw and open the USB programming port.
- Turn on Vortex power switch, and plug in the Micro usb cable, it will install the driver automatically if you have installed Arduino IDE. If not, you can find it in the driver file in Arduino IDE folder-->Drivers folder.
- There is a switch close to the USB port, make sure the trigger is close to the USB side. This is MP3 switch, we'll teach you how to add new song in the following chapter.
- Open your Arduino IDE, select "Arduino UNO" and right "COM port" in Arduino IDE, now you can enjoy coding.
Bluetooth Wireless Programming

BLE wireless programming could let you get rid of the mess USB cable, and make a free real-time debugging.
- Plug USB BLE Link to your PC (Compatible with Windows/MAC/Linux), and it will install the driver automatically if you have installed Arduino IDE. If not, you can find it in the driver file in Arduino IDE folder-->Drivers folder.
- Open your Arduino IDE, select "Arduino UNO" and right "COM port" in Arduino IDE, now you can enjoy coding.
Features
Bluetooth Communication
Vortex supports Bluetooth wireless communication, you can refer to the Bluno wiki page for the Bluetooth configuration and firmware upgrade.
Motor Control
Vortex implements PWM speed motor control, using 4 digital I/O pins:
- Left motor: D5(PWM); D9(Direction)
- Right motor: D6(PWM); D10(Direction)
Sample Code
Line Tracking
Vortex has six Grayscale Sensors around the body. Achieving two-color detection. User can make a line tracking with these sensors.
| | |
| ------------------------------------------------------------------------------------------- | |
|  | |
| |
| Num. | Pin |
|---|---|
| 1 | A3 |
| 2 | A2 |
| 3 | A1 |
| 4 | A0 |
| 5 | A6 |
| 6 | A7 |
Driving Pins
The following code has separated motor part to make it more clear. It will read 6 gray value.
Test Method You can leave a black strip in front of the Vortex, moving vortex cross the strip and checking the gray value one by one.
image:Vortex_test_method_1.jpg|Leave a black strip image:Vortex_test_method_2.png|All sensors are on the white paper image:Vortex_test_method_3.png|The first one is on the Black strip and the rest are on the white paper
Autonomous Obstacle Avoidance
Vortex is using 2 pairs of Infrared transmitter and receiver as its obstacle avoidance sensor. The transmitter will send 20 pulse at 38KHz frequency. Since the obstacle will reflect infrared light, we can judge the distance via the feedback pulse.
image:Vortex_Obstacle_Avoidance_1.png|Infrared Receiver image:Vortex_Obstacle_Avoidance_2.png|Infrared Transmitter
Driving Pins
- IR receiver pin: 7
- Left IR transmitter pin 8
- Right IR transmitter pin 12
The following code has separated motor part to make it more clear. It will detect whether there is something left or right
After you upload the sample code, you can open the serial port to check the result. Leave your hand in front of the vortex, it will feedback your hand position.
RGB LED Color Control
Vortex has 6+6 RGB LEDs on the board, these LEDs integrates driving IC, you can control them via single signal.
Driving Pins
- RGB LEDs driving Pin: D13
[Link: Download Vortex Library] About Library installation
MP3 Music Player
Do you still remember the MP3 Switch in the USB programming section? There is a switch close to the USB port, make sure the trigger is close to the USB side. This is MP3 switch, we'll teach you how to add new song in the following chapter.
Now here we go, we'll tell you how to replace vortex system voice with your own one.
- Turn the switch trigger to the opposite side (away from the USB port).
- Connect Vortex to your computer via USB port. and it will appear a new flash disk.
- Rename your voice or your song file, and put them in the disk.
| NOTE: The MP3 chip recognizes the file by the modified time, not its name, so you will need to rank the file again! Just cut all file outside, and move them in the disk in order. |
Encoder
Vortex is using optical-electricity encoder.
Driving Pins
- Left Encoder: Interrupt 0 (D2)
- Right Encoder: Interrupt 1 (D3)

Sample Code
Result

Robot Eye
Vortex uses two 5x5 leds matrix as its eye, IIC interface.
