Have you ever wanted to catch that one person who keeps stealing your Halloween candy? Or what about that annoying roommate who won't leave your fridge alone? By using a Raspberry Pi 3, Pi Camera, and PIR sensor, all of that is now possible. Simply put it in a location you want monitored and get emailed with an attached photo of the perpetrator.
Software apps and online services: Python IDE of Choice
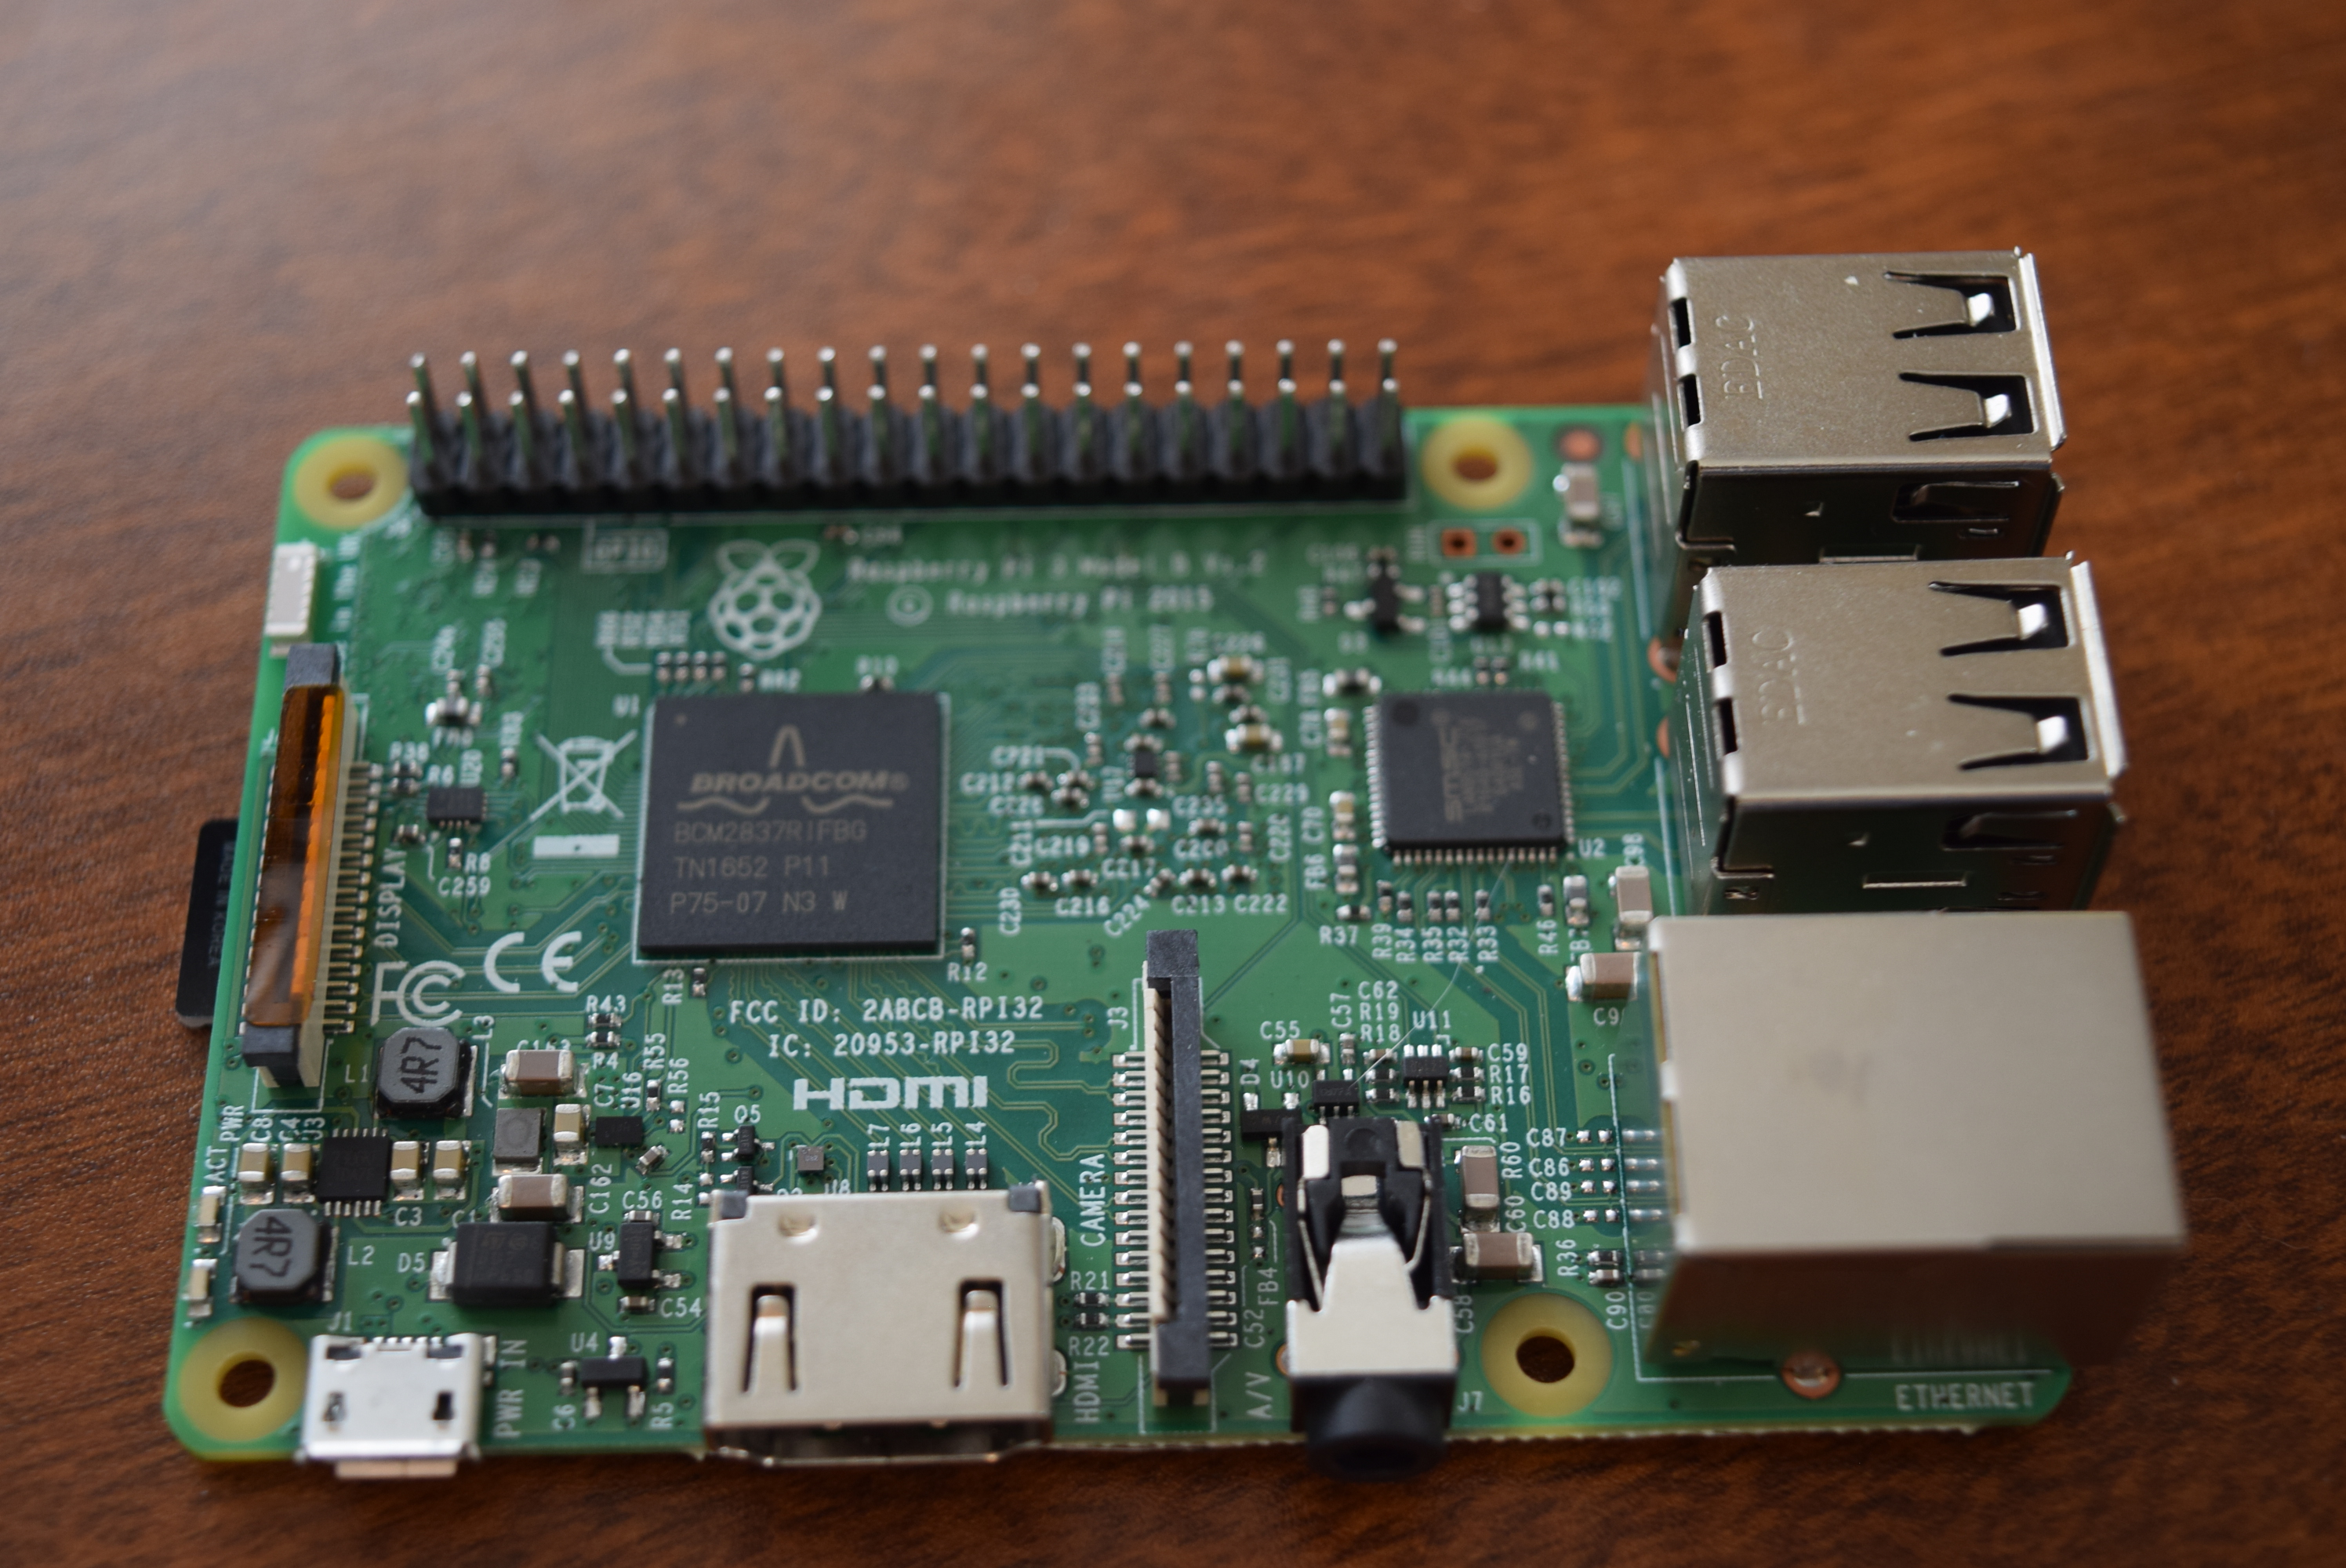
Setting Up the Pi
DFRobot reached out to me and sent their Raspberry Pi 3 and Raspberry Pi Camera Module. So after I opened up the boxes I got right to work by setting up the SD card. First I went to the Raspberry Pi Downloads page and downloaded the most recent version of Raspbian. I then extracted the file and put it into a convenient directory. You can't just copy/paste a .img file to an SD card, you have to "burn it" onto the card. You can download a burning utility like Etcher.io to easily transfer the OS image. After the .img file was on my SD card I inserted it into the Raspberry Pi and gave it power. After about 50 seconds I unplugged the cord and removed the SD card. Next I put the SD card back into my PC and went to the "boot" directory. I opened up notepad and saved it as a blank file named "ssh" with NO extension. There was also a file I added called "wpa_supplicant.conf" and put this text into it:
network={
ssid=<"SSID">
psk=<"PASSWD">
}
Then I saved and ejected the card and put it back into the Raspberry Pi 3. This should now allow for the usage of SSH and connecting to WiFi.
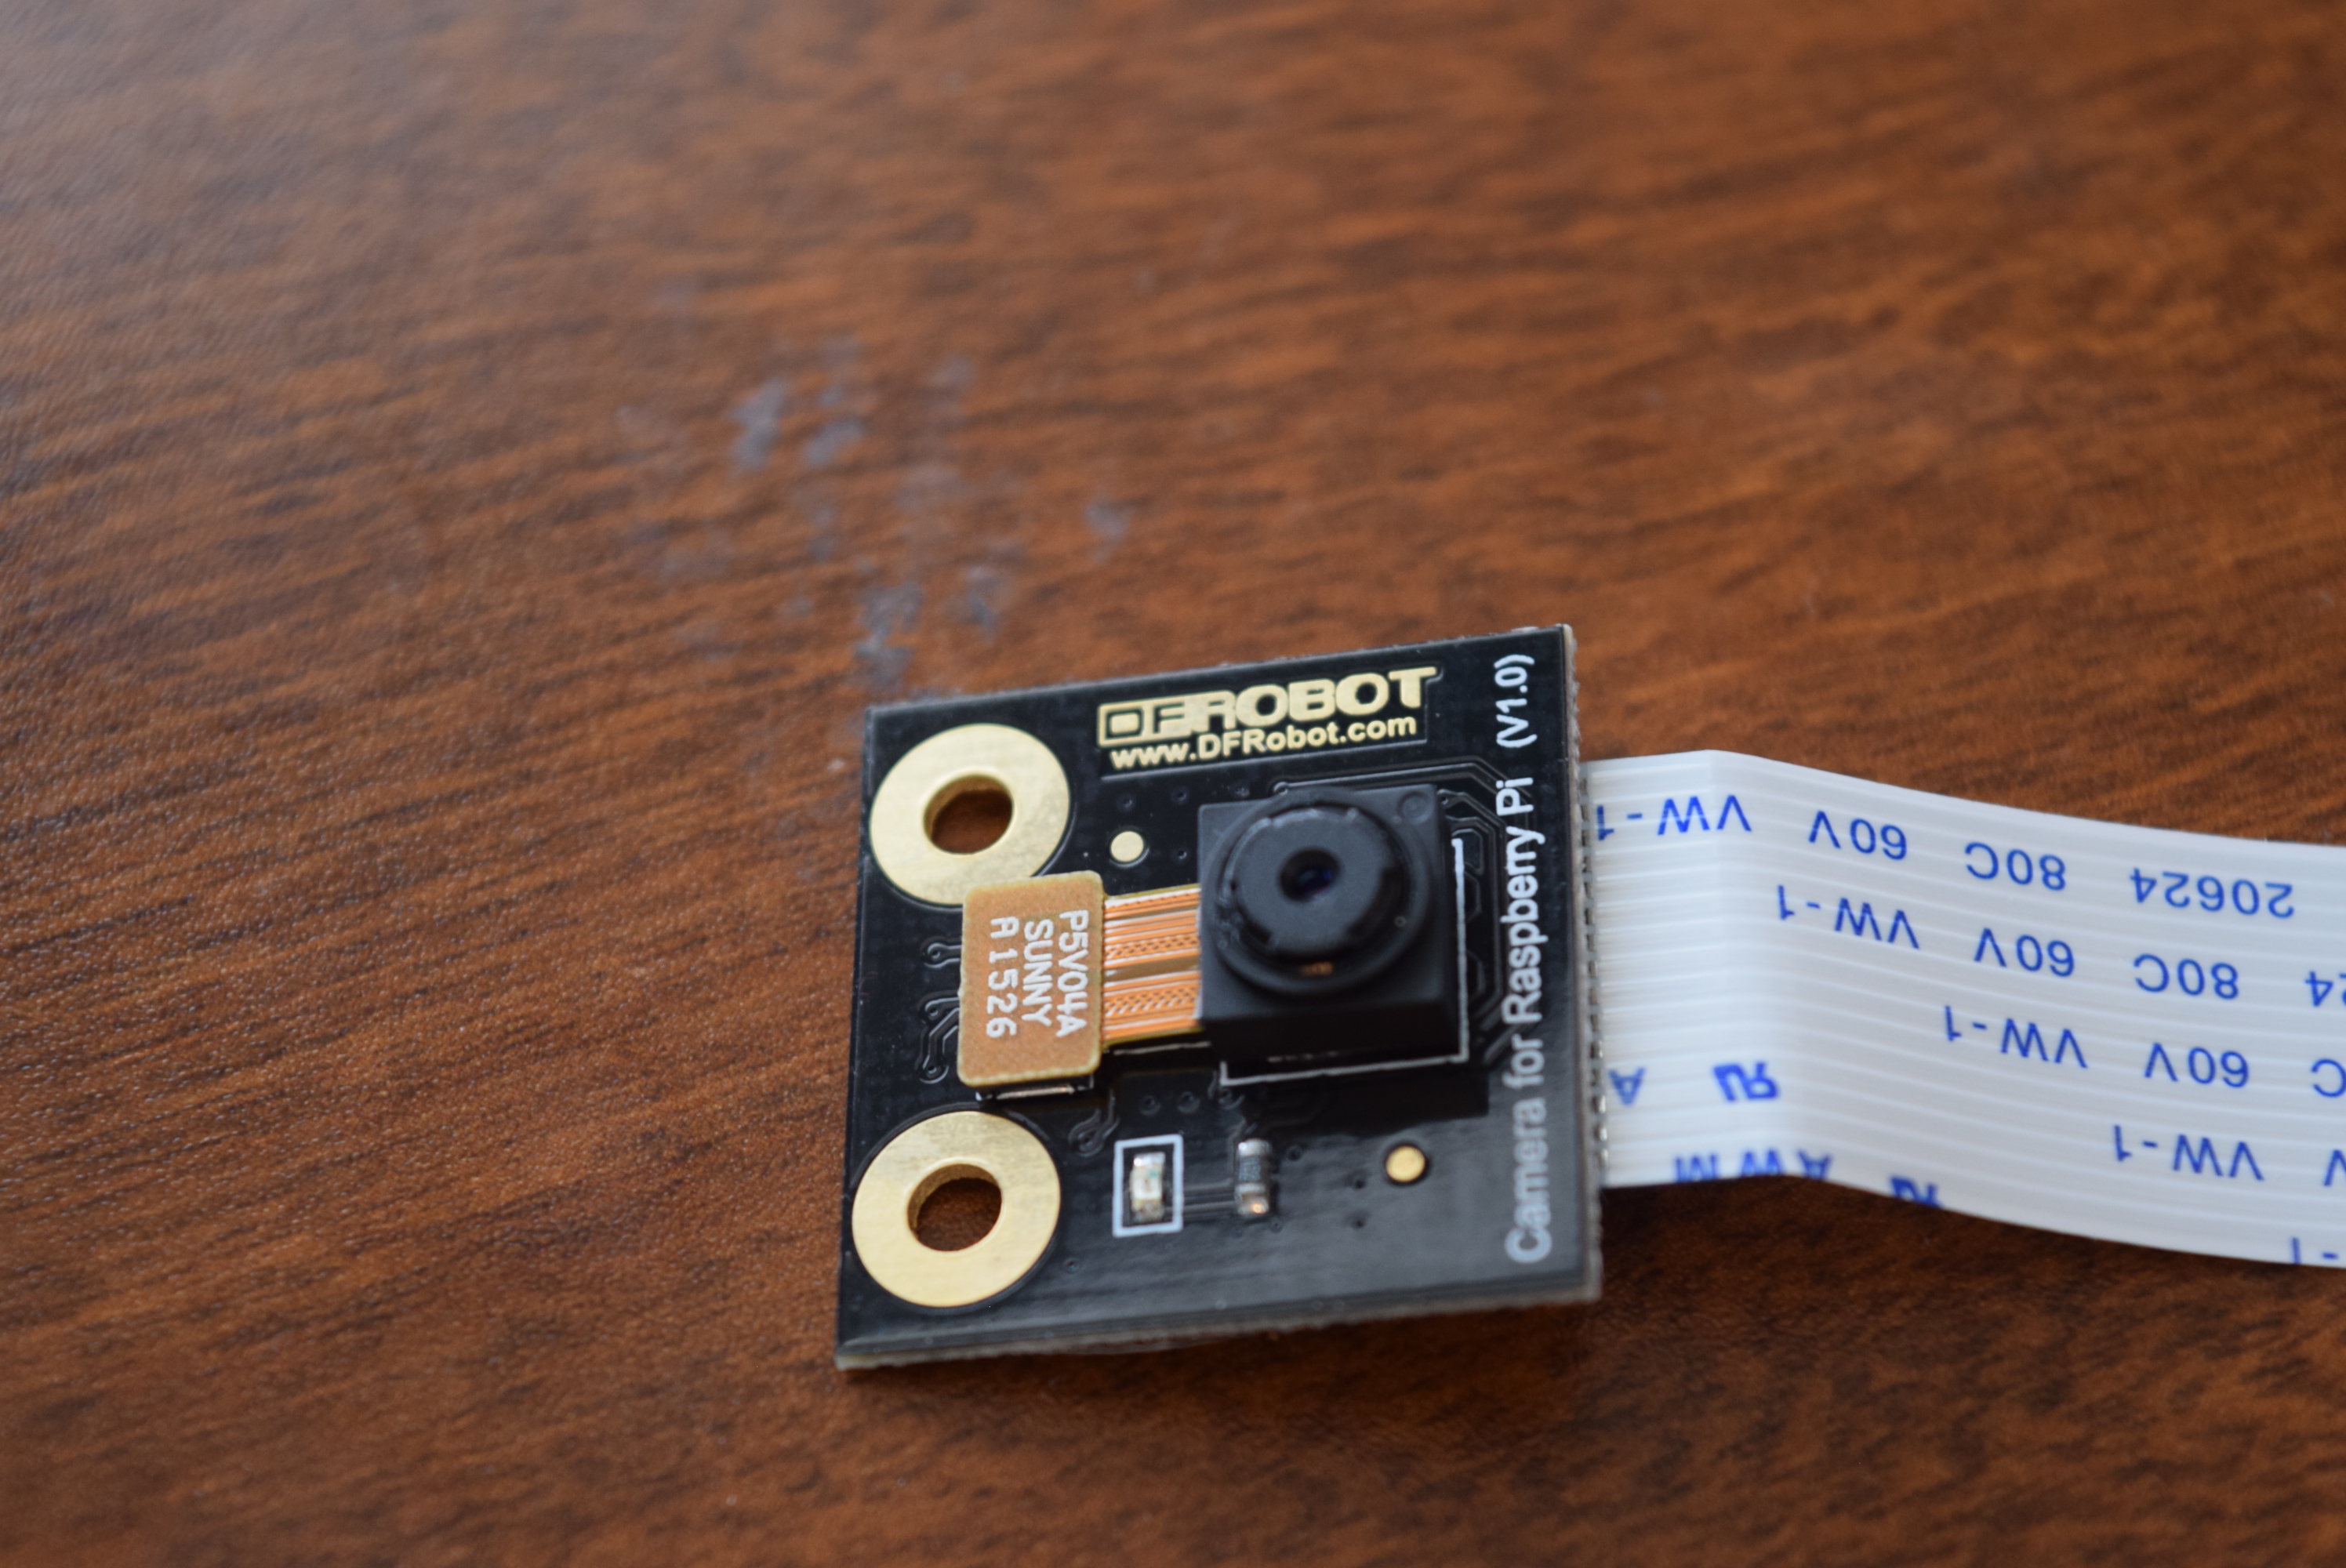
Getting the Camera Ready By default, the camera is disabled on the Pi, so you must open the terminal type sudo raspi-config to bring up the menu. Go to "interfacing options" and then enable the camera. Now just select "Finish" and insert the ribbon cable of the camera module into the correct area of the Pi.
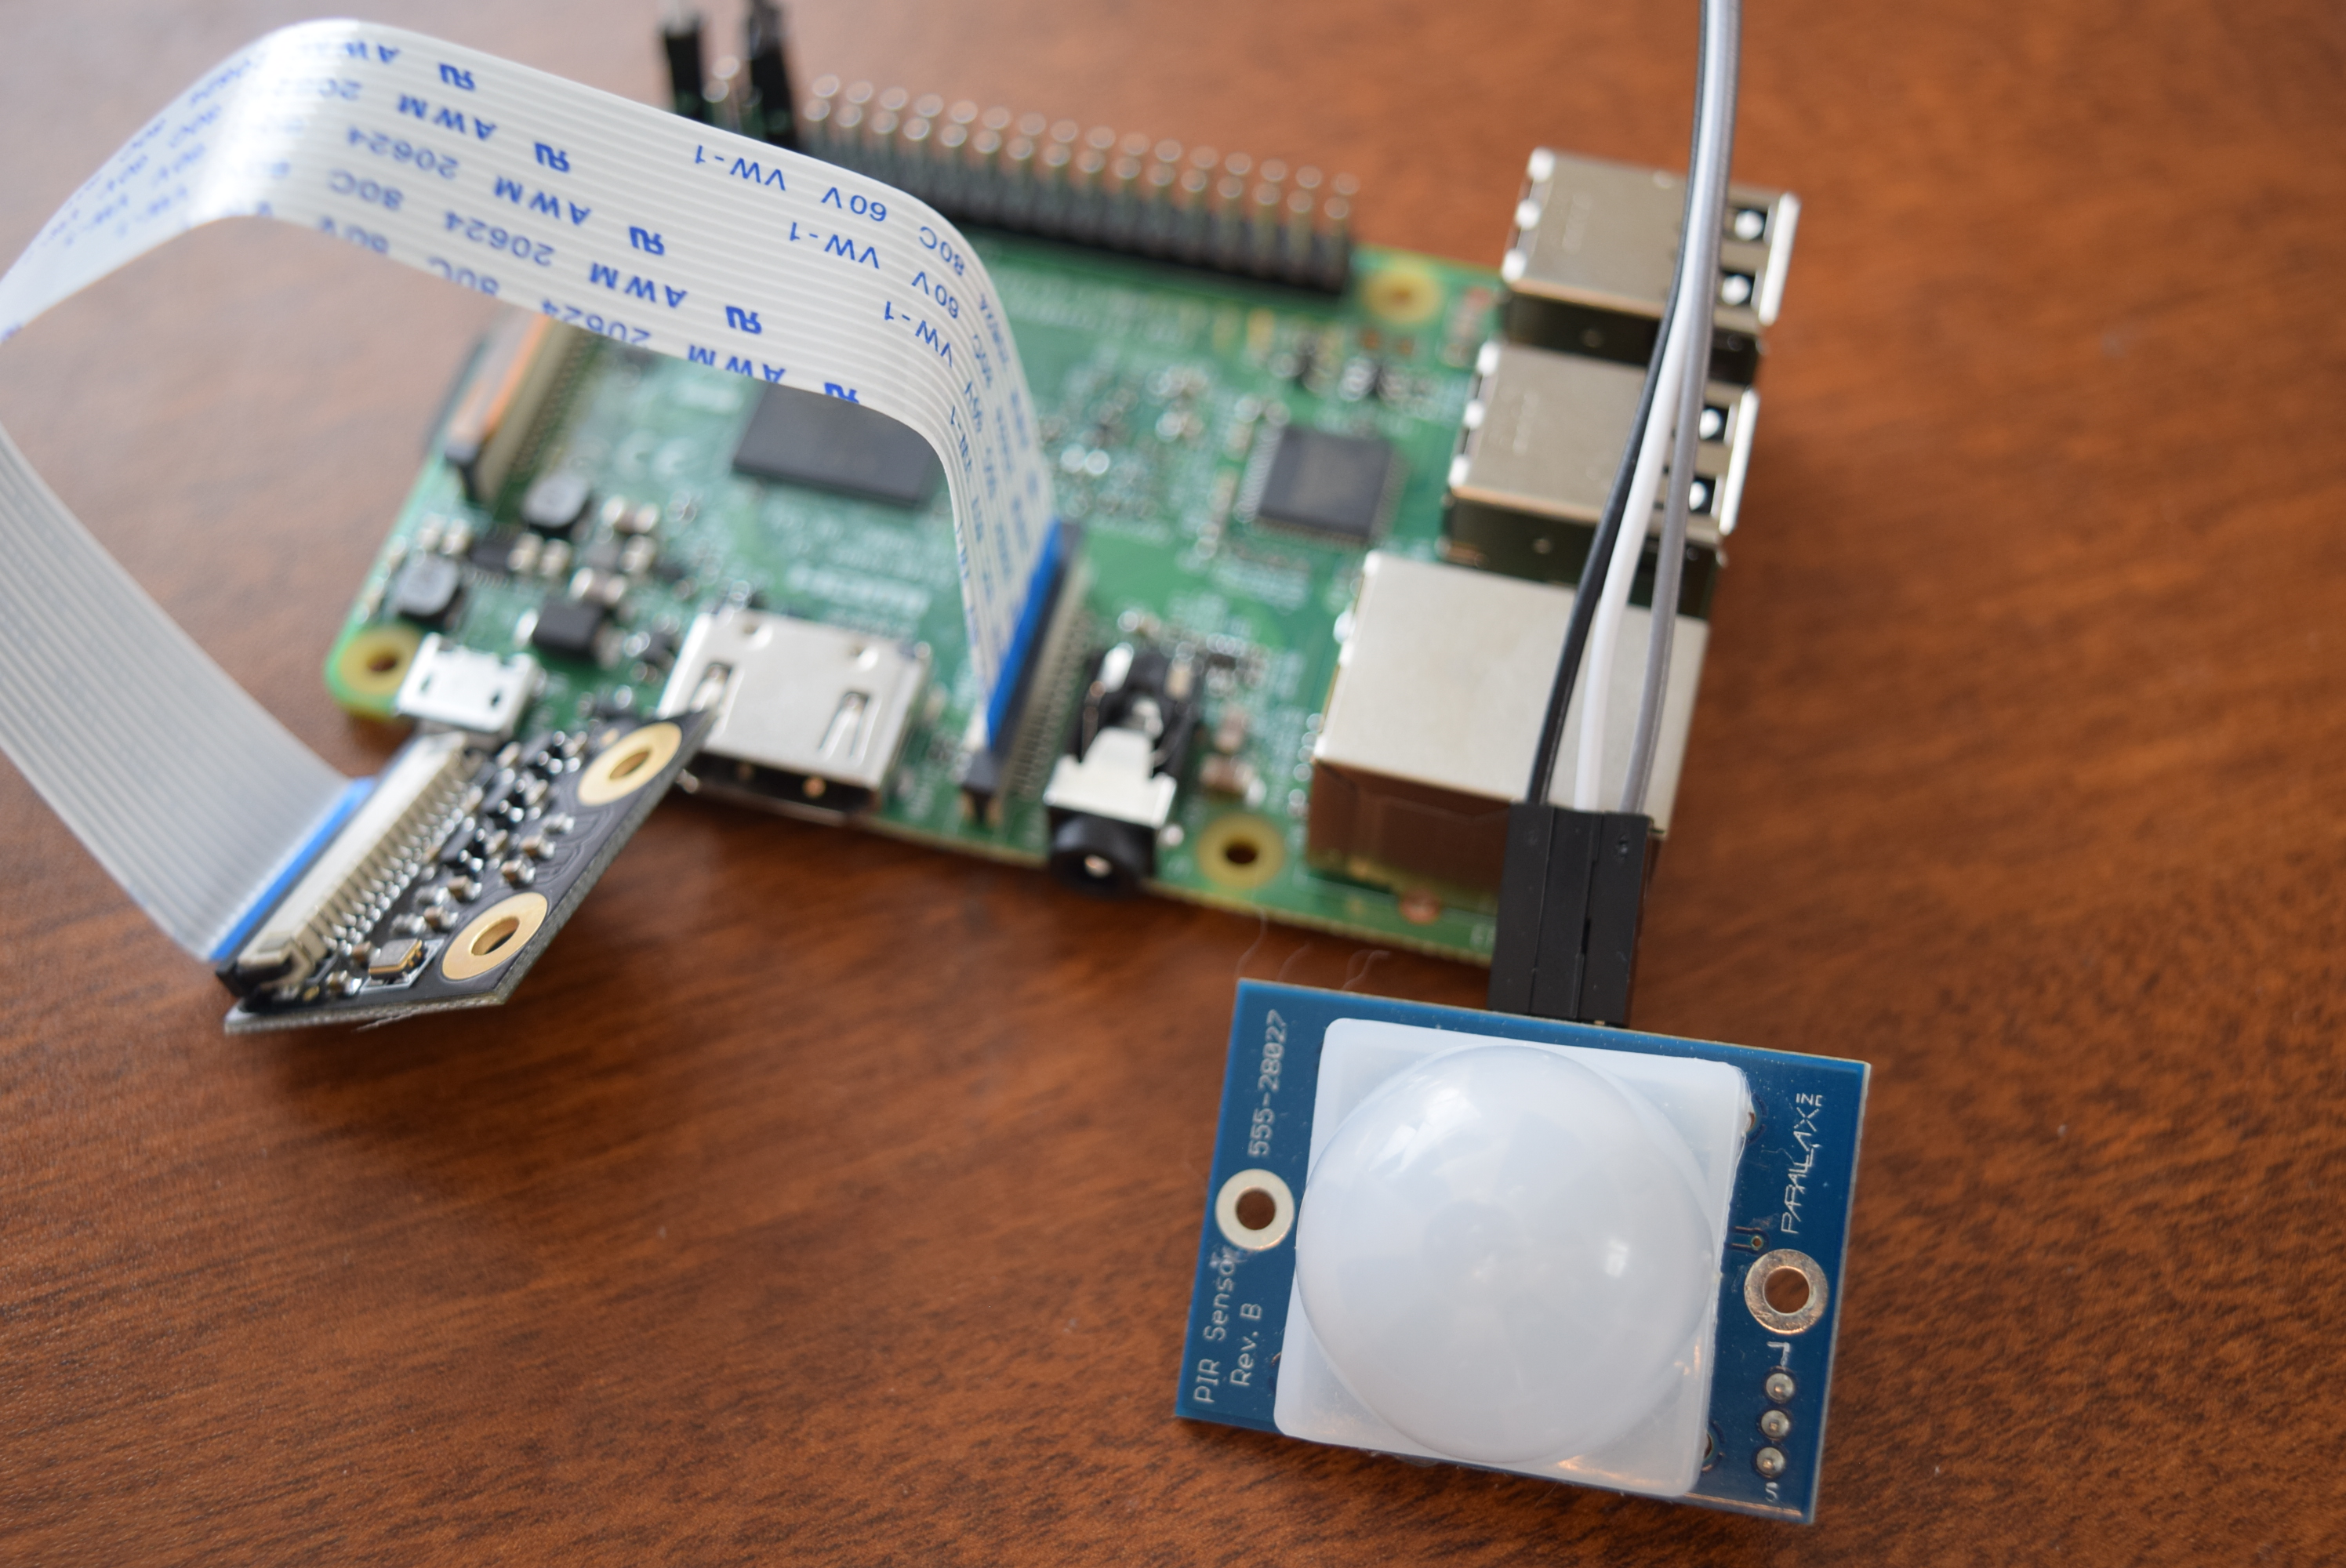
Wiring the PIR Sensor A PIR sensor stands for Passive InfraRed, which basically means it can detect heat, and therefor humans moving in front of it. There are only 3 leads to connect: VCC, GND, and OUTPUT. VCC gets connected to 3.3V, GND to GND of course, and OUTPUT to pin 4 (BCM numbering) on the Pi.
The Code I have attached code to this project page, so all you have to do is copy/paste it, but with one catch. It isn't good practice to store passwords in plain text, let alone a main account password. Therefore, you can go to the Google Accounts page and select security, then app passwords. Add a new one called "Raspberry Pi Email" and copy/paste that 16 character password into the code. This allows you to delete the password after you're done with it, improving security. Also enter the email address for your Google account that you used to setup the app password.
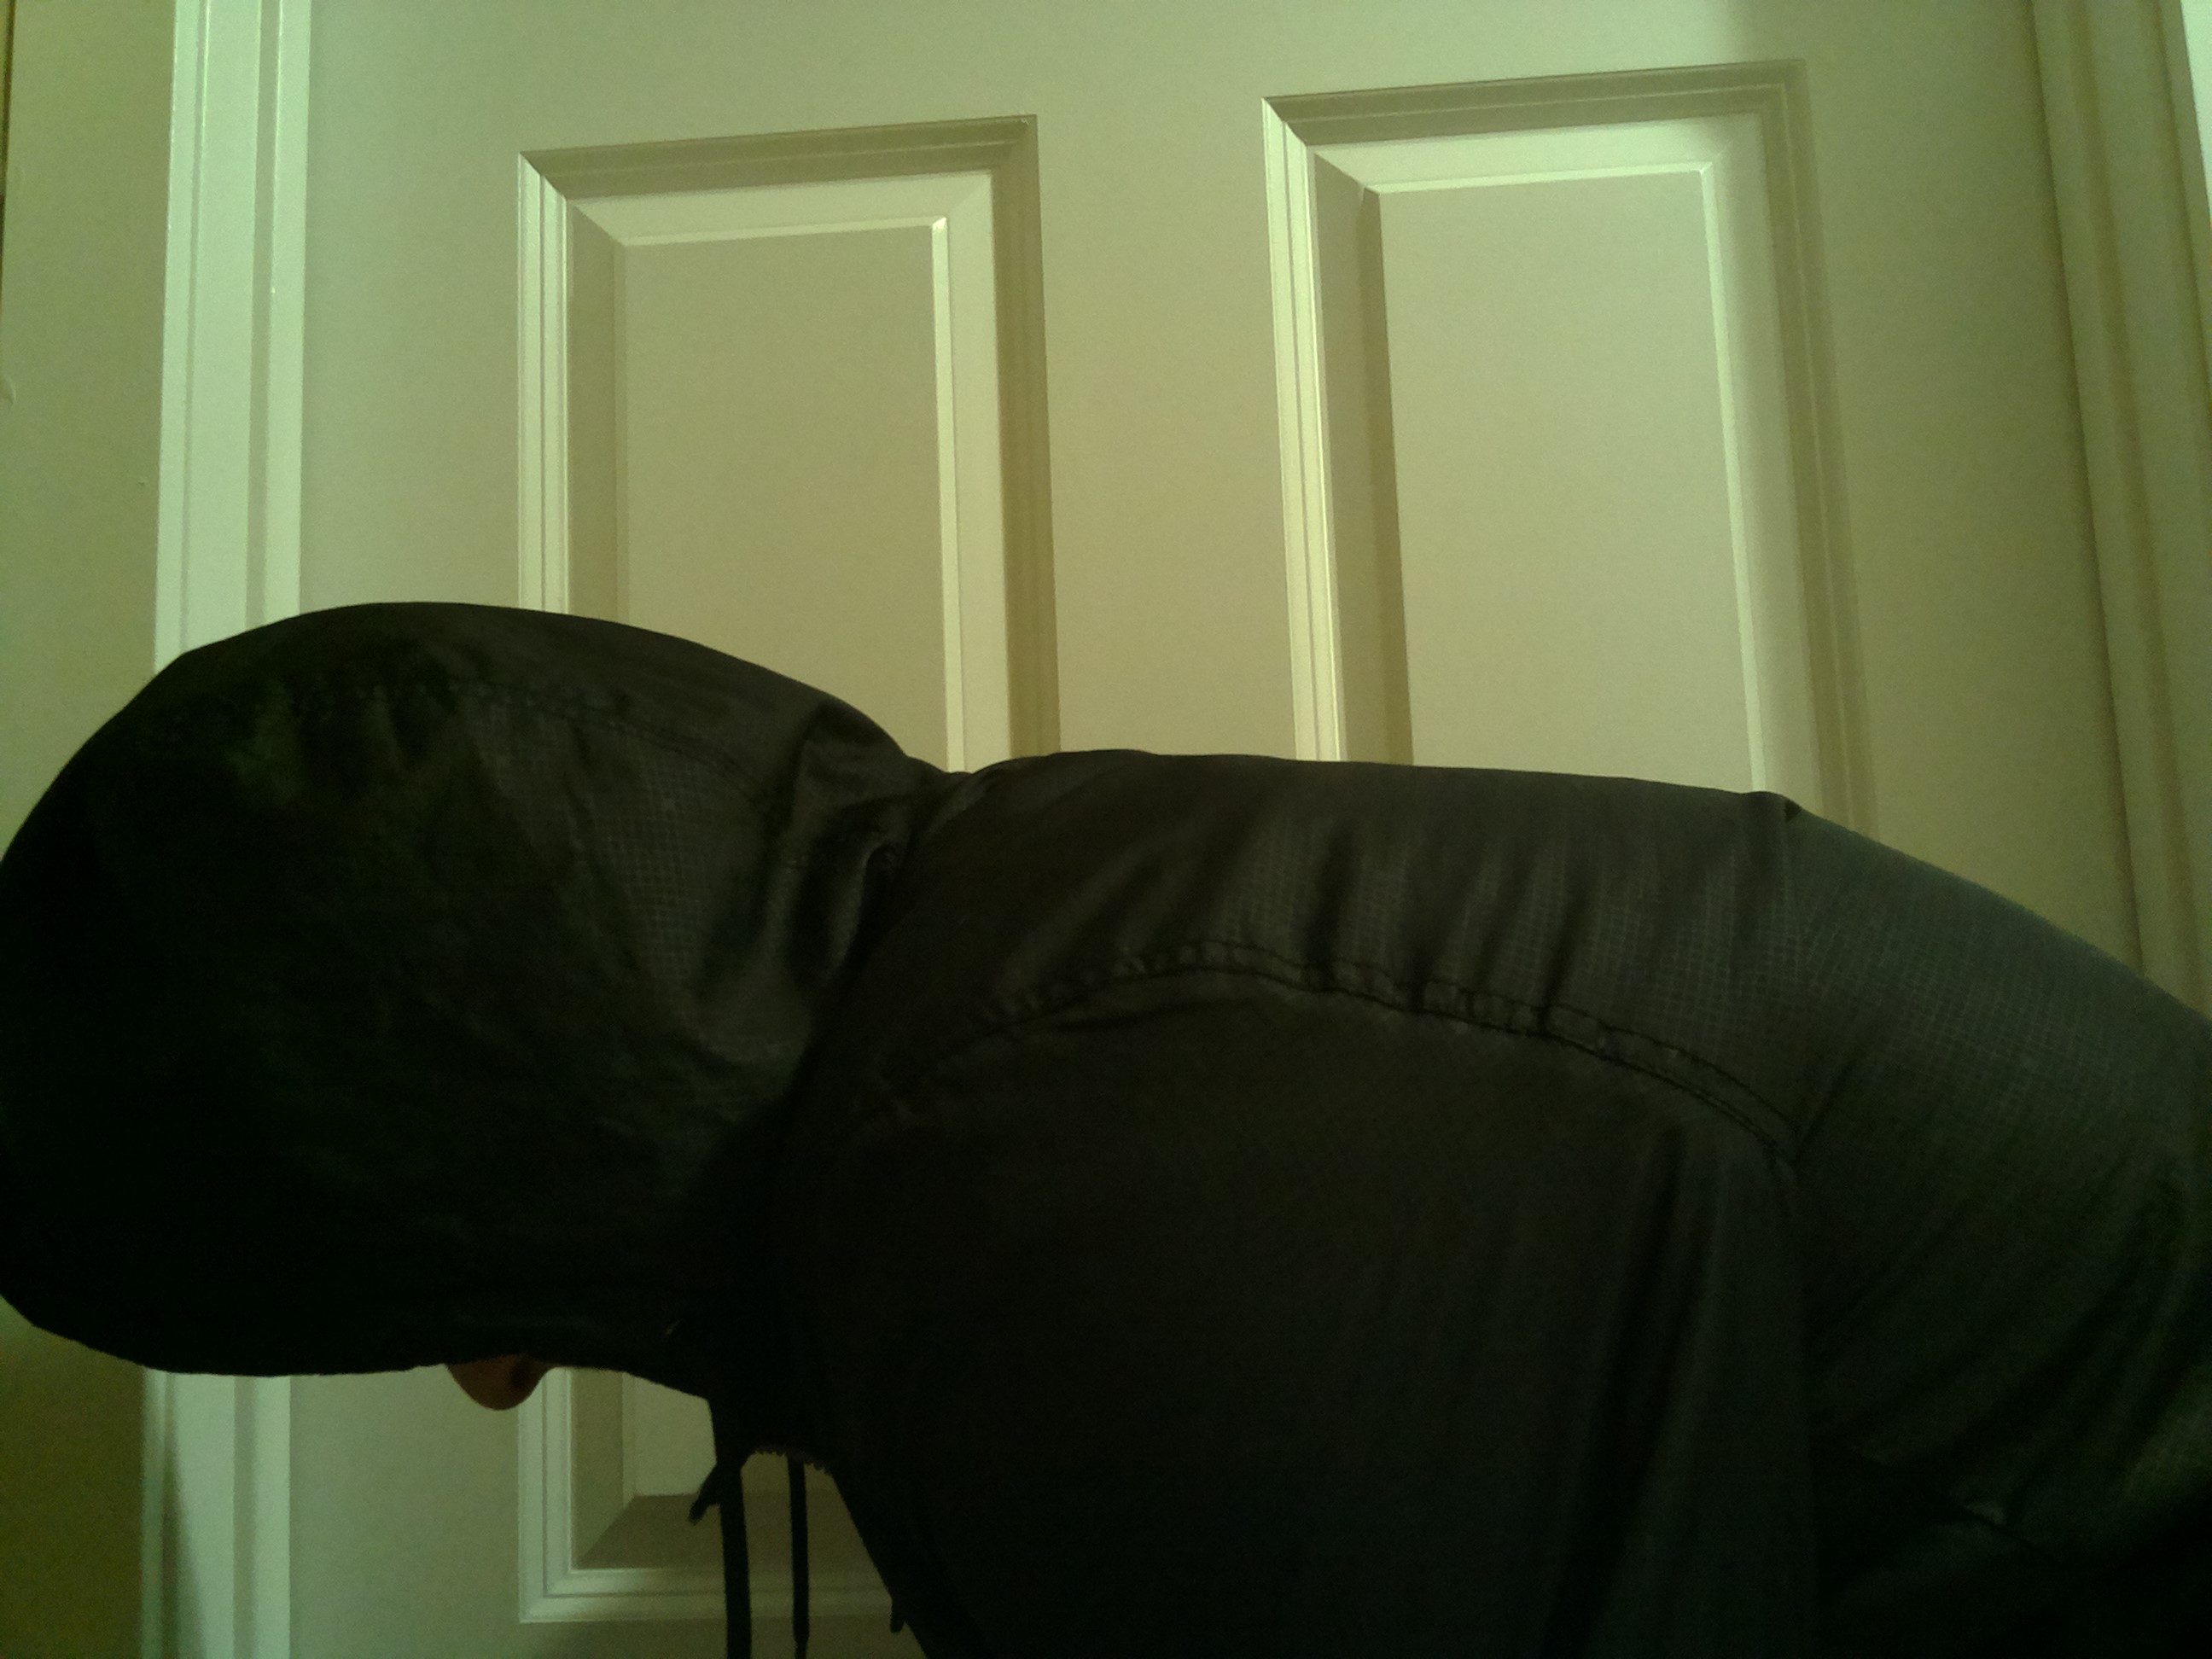
Running It Now simply run the code by typing sudo python <FileName>.py I set my device across from my new stash of Halloween candy to monitor if someone is trying to steal it.
Schematic
import os
import smtplib
from email.mime.text import MIMEText
from email.mime.image import MIMEImage
from email.mime.multipart import MIMEMultipart
import picamera
import RPi.GPIO as GPIO
from time import sleep

GPIO.setmode(GPIO.BCM)
GPIO.setup(4, GPIO.IN)

subject = "An intruder has been detected"
to = "Your Google email address"
UserName = to
UserPassword = "Your Google Password"

camera = picamera.PiCamera()

def SendMail(ImgFileName):
    img_data = open(ImgFileName, 'rb').read()
    msg = MIMEMultipart()
    msg['Subject'] = subject
    msg['From'] = to
    msg['To'] = to

    text = MIMEText("Here is an attached image of the intruder")
    msg.attach(text)
    image = MIMEImage(img_data, name=os.path.basename(ImgFileName))
    msg.attach(image)

    s = smtplib.SMTP("smtp.gmail.com:587")
    s.ehlo()
    s.starttls()
    s.ehlo()
    s.login(UserName, UserPassword)
    s.sendmail(to, to, msg.as_string())
    print("Sending mail")
    s.quit()

def takePicture(channel):
    camera.capture('image.jpg')
    SendMail('image.jpg')
    os.remove('image.jpg')
    sleep(20)


GPIO.add_event_detect(4, GPIO.RISING, callback=takePicture, bouncetime=500)

while True:
    pass
This article is an engineering test note, mainly intended to demonstrate the actual performance of the module in common development scenarios, rather than a laboratory calibration report.