【Back Feb 24th!】Holiday from Feb 14-23. All orders placed now will ship starting Feb 24th.
PROJECTS LattePanda Hardware components:
Software apps and online services:
Hardware List:
Install Visual Studio 2017
Run the Program
Note:
The response shows that I look like I am 30 years old!
How to Make a Face Recognition Application with LattePanda?
DFRobot
Apr 03 2018 261281
Want to make a face recognition application? Using existing APIs, it is a relatively simple process!
Hardware components:
LattePanda - A Powerful Windows 10 Mini PC 2GB/32GB
Software apps and online services:
Microsoft Cognitive Services
STORY
Want to make a face recognition application? Using existing APIs, it is a relatively simple process! Here I am leveraging Microsoft Cognitive Services and a LattePanda single board computer to build a simple face recognition application.
Microsoft Cognitive Services is a set of APIs, SDKs and services available to developers to make their applications more intelligent, engaging and discoverable. It lets you build apps with powerful algorithms using just a few lines of code. It works across devices and platforms such as Windows, Android and iOS. Best of all it is continuously being improved and is easy to set up.
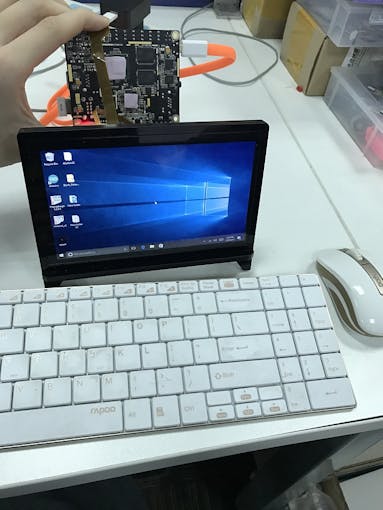
System Environment
Hardware List:
LattePanda
7" 1024 x 600 IPS Display for LattePanda
Software Setup
Get the Face API Key
Face API is a cloud-based API that provides advanced algorithms for face detection and recognition. The main functionality of Face API can be divided into two categories: face detection with attributes extraction and face recognition.
First, click "Get Started for Free" and sign in your account. You will be assigned an individual API key.
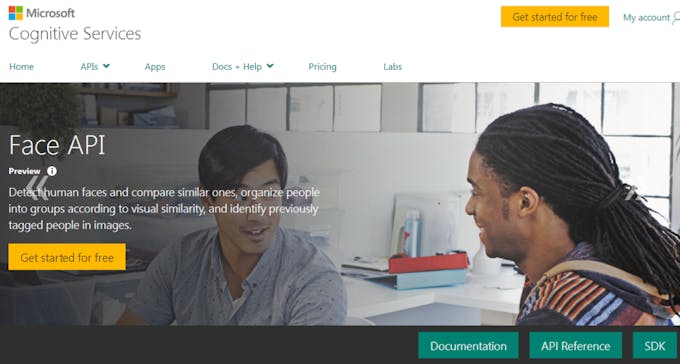
You can check your key in your account.

Install Visual Studio 2017
I recommend you install the latest version of Visual Studio.
Run the Program
File > New > Project > Choose Console Application
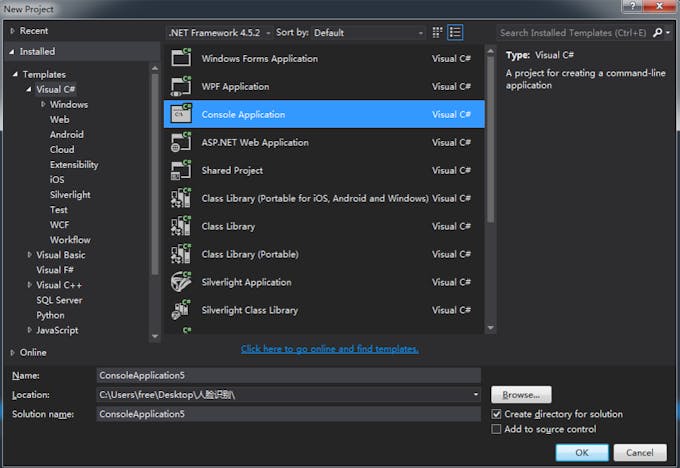
Copy the attached code to your program and replace the example key with your valid key. You can get more example code from here.
Note:
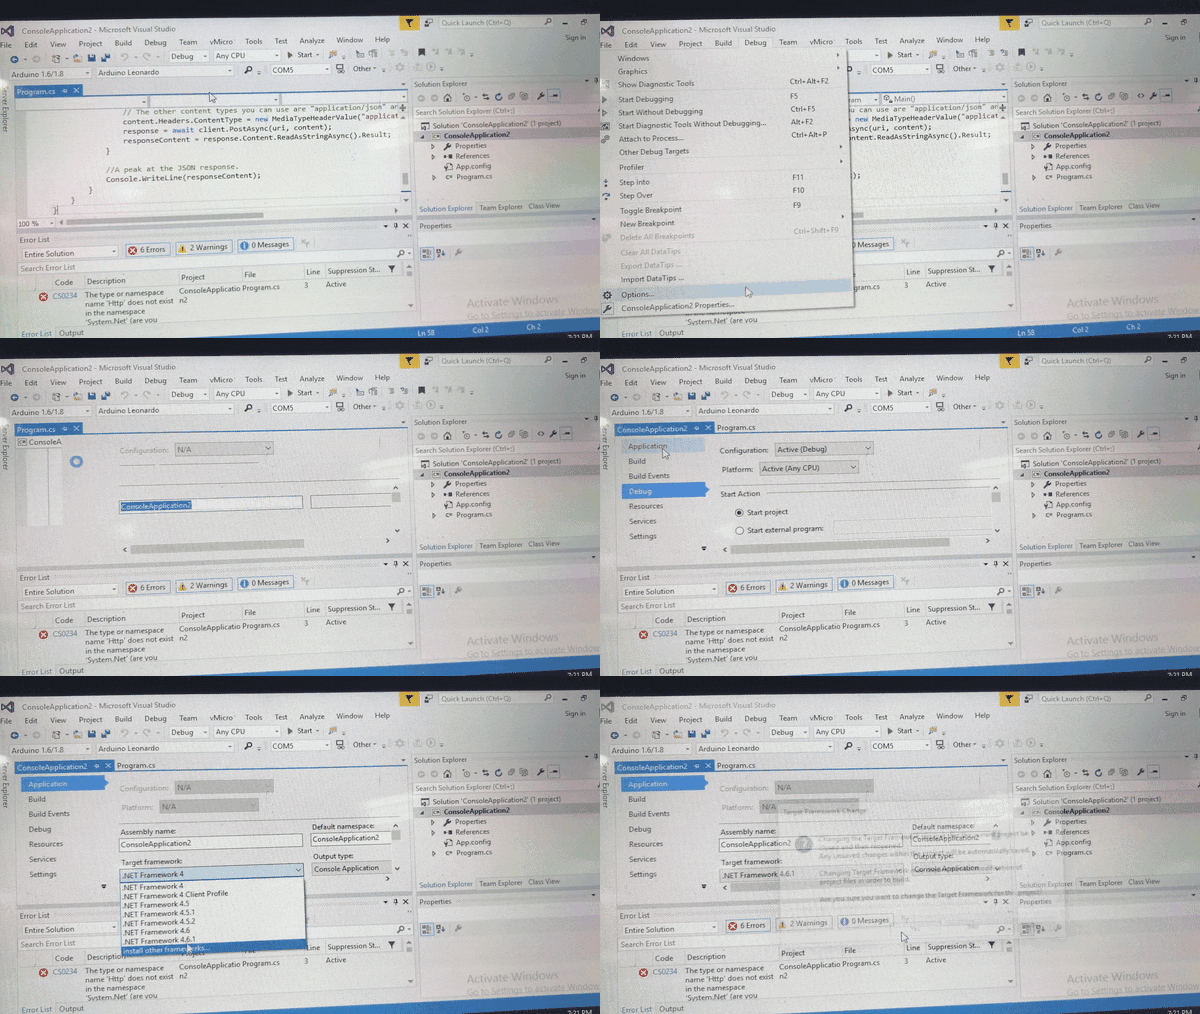
Be sure to update your .NET Framework to the latest version, or you will get this error:
q6u7_DPZKgE2w7f.png?auto=compress%2Cformat&w=680&h=510&fit=max)
Update your .NET Framework
Test
Press Start. Enter the path of your picture. Let's wait for the response!
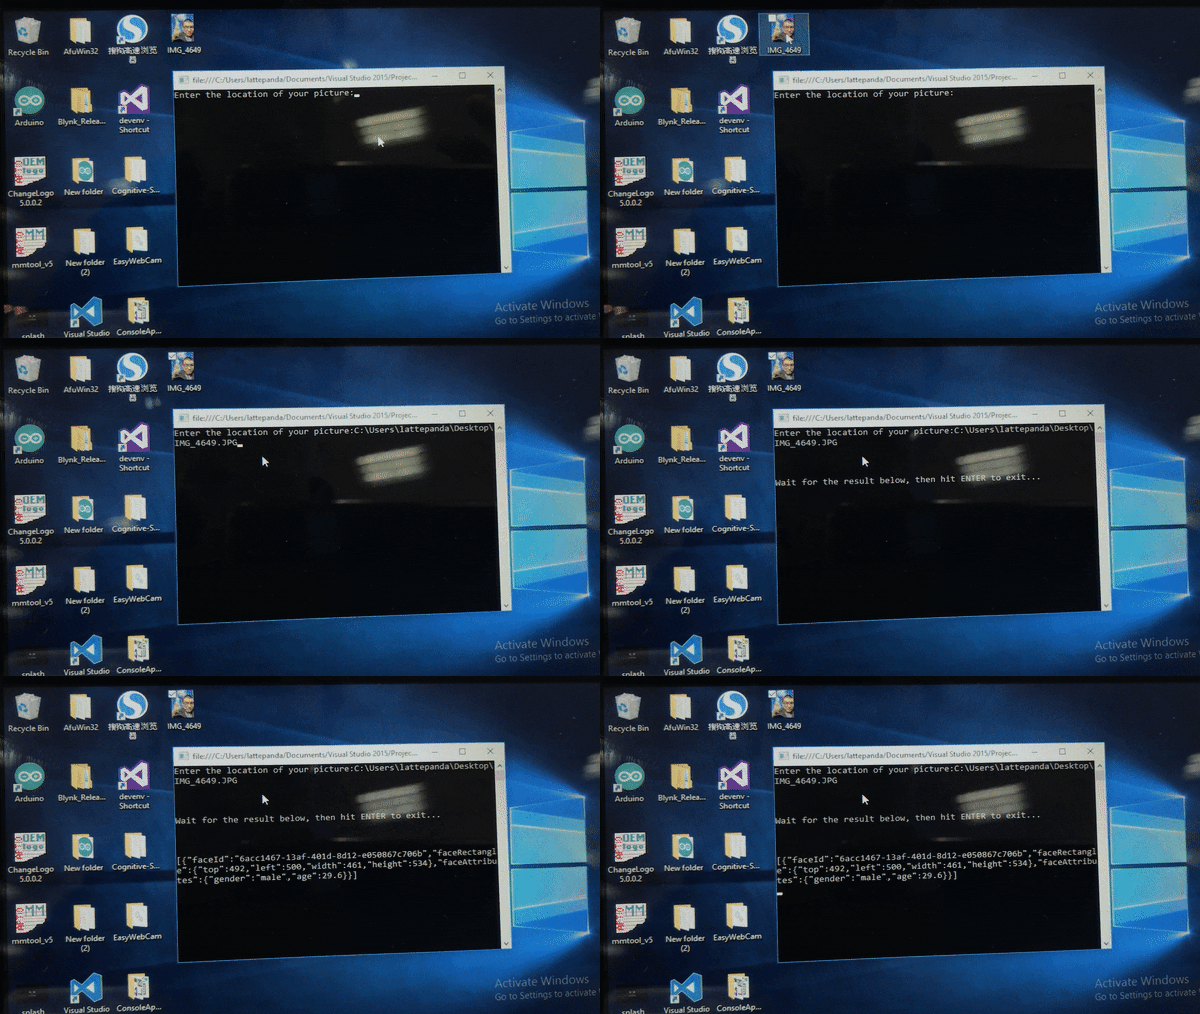
A successful response will be returned in JSON, like so:

The response shows that I look like I am 30 years old!
This is a simple introduction to face recognition APIs. I hope you enjoyed it!
CODE
using System;
using System.IO;
using System.Net.Http.Headers;
using System.Net.Http;

namespace CSHttpClientSample
{
    static class Program
    {
        static void Main()
        {
            Console.Write("Enter the location of your picture:");
            string imageFilePath = Console.ReadLine();

            MakeAnalysisRequest(imageFilePath);

            Console.WriteLine("\n\n\nWait for the result below, then hit ENTER to exit...\n\n\n");
            Console.ReadLine();
        }

        static byte[] GetImageAsByteArray(string imageFilePath)
        {
            FileStream fileStream = new FileStream(imageFilePath, FileMode.Open, FileAccess.Read);
            BinaryReader binaryReader = new BinaryReader(fileStream);
            return binaryReader.ReadBytes((int)fileStream.Length);
        }

        static async void MakeAnalysisRequest(string imageFilePath)
        {
            var client = new HttpClient();

            // Request headers - replace this example key with your valid key.
            client.DefaultRequestHeaders.Add("Ocp-Apim-Subscription-Key", "Enter your apikey here");

            // Request parameters and URI string.
            string queryString = "returnFaceId=true&returnFaceLandmarks=false&returnFaceAttributes=age,gender";
            string uri = "https://westus.api.cognitive.microsoft.com/face/v1.0/detect?" + queryString;

            HttpResponseMessage response;
            string responseContent;

            // Request body. Try this sample with a locally stored JPEG image.
            byte[] byteData = GetImageAsByteArray(imageFilePath);

            using (var content = new ByteArrayContent(byteData))
            {
                // This example uses content type "application/octet-stream".
                // The other content types you can use are "application/json" and "multipart/form-data".
                content.Headers.ContentType = new MediaTypeHeaderValue("application/octet-stream");
                response = await client.PostAsync(uri, content);
                responseContent = response.Content.ReadAsStringAsync().Result;
            }

            //A peak at the JSON response.
            Console.WriteLine(responseContent);
        }
    }
}


